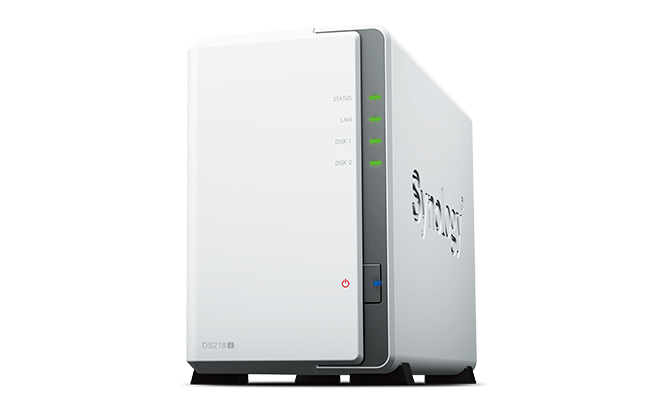
A few years ago, I picked up a Synology NAS for network backups here in the ol’ home.
My model (a DiskStation DS218j) in particular was on sale. It has space for two internal desktop SATA hard drives and runs them in RAID1, so the two hard drives mirror each’s data. Ideally, if you had a hardware failure, one drive is still good, and data is not lost.
The NAS has a mature and stable interface accessible through a website as well as ssh. It has a lot of different features, including setting up your own Dropbox-clone, internal mail servers, development environments, and even web hosting. Most users will want it just for the backup options, and it’s plenty fast over the local network doing Time Machine. You can even expand its capabilities through community packages that add functionality and cool software. All in all, my model is a fairly inexpensive entry level model one, and there are others that are more expensive and have more drive capacity.
One feature that it has is AppleTalk, running a newer version of Netatalk (~3.3). Netatalk is an open source implementation of the AppleTalk protocol that can help bridge networking divides among older and newer Macs. While it was fairly easy to turn on AppleTalk, it took a little bit more work to get the thing doing what I wanted to do.
For one, I prefer guest access (internally again) to make it less painful for older Macs to connect and share files. I don’t necessarily want to create different users for each vintage Mac and have to memorize a different set of passwords. You can apparently do this on the Synology, creating individual home folders for each vintage Mac. That’s overkill for me.
I want a folder to share vintage MacOS software and updates to make it easier to save files and upgrade old machines.
So, in addition to making sure AppleTalk was enabled under File Services in the main Control Panel, I also had to do three things, two of which you probably shouldn’t do.
First, I made sure to utilize Advanced Permissions under the Folder Sharing options for the particular folder I wanted to share with the Macs. This makes sure I could enable guest access, so my vintage Macs don’t need to enter any passwords.
Second, I needed to enable the guest account. It comes with a password for security purposes, which makes sense, but I didn’t want a password.
So, I did the third thing. Under Users -> Advanced, you can check off enforcing password rules which lets anyone have an account without a password. You shouldn’t do this really, but since this is only internally accessed, it’s fine for me.
Now, I can access, at least initially, a shared folder from a Performa 5215CD on OS 8.1 and an iMac G4 running OS 9.2.2.
However, to get it working on my Color Classic, which I hope to recap soon, I had to get the system software up to 7.5.3 and then move the “AppleShare” file from the AppleShare client 3.7.4 into the Extensions folder. (Being away from System 7 so long, I forgot how kind of painful it was to do updates back in the day.) The weird quirk was that AppleShare client would not install, so I just manually copied the file. At that point, with Open Transport 1.1.2 also installed, it gave me an option to connect to an IP address for AppleTalk in Chooser. The Synology does not automatically show up. I may explore that quirk later, but I hear it’s not possible in later versions of netatalk.
Anyway, at least for now, with OS 7.5.3 and up, I can share files among ancient and newer Macs.
Cool, right?
— Nathan