First, for those looking for G5 content, it’s coming. I still am working on a review of a Lubuntu Remix that I’ve been tinkering with as an alternative OS. But for now, since I’ve been developing my skills recapping old motherboards and getting some vintage Macs working, that’s the focus.
Which brings me to this MEGATHREAD – what System 7 extensions/control panels do you recommend?
Here are a few that I love to make life a little easier on System 7.
StickyClick is rad. It makes menus sticky like in OS 8 and beyond, and without it, you feel kind of weird getting use out of these old computers.
Thread Manager is helpful for some programs you will use.
Snitch extends the Finder in some interesting ways.
Windows is an interesting little control panel that adds an extra “Windows” menu to the menu bar for every app, giving you some ability to manage your… windows… a bit easier.
That’s enough for now. What do you recommend? Any hard to find ones that make System 6/7/8 better?
Now for a quick digression, because I love getting more use out of old tech.
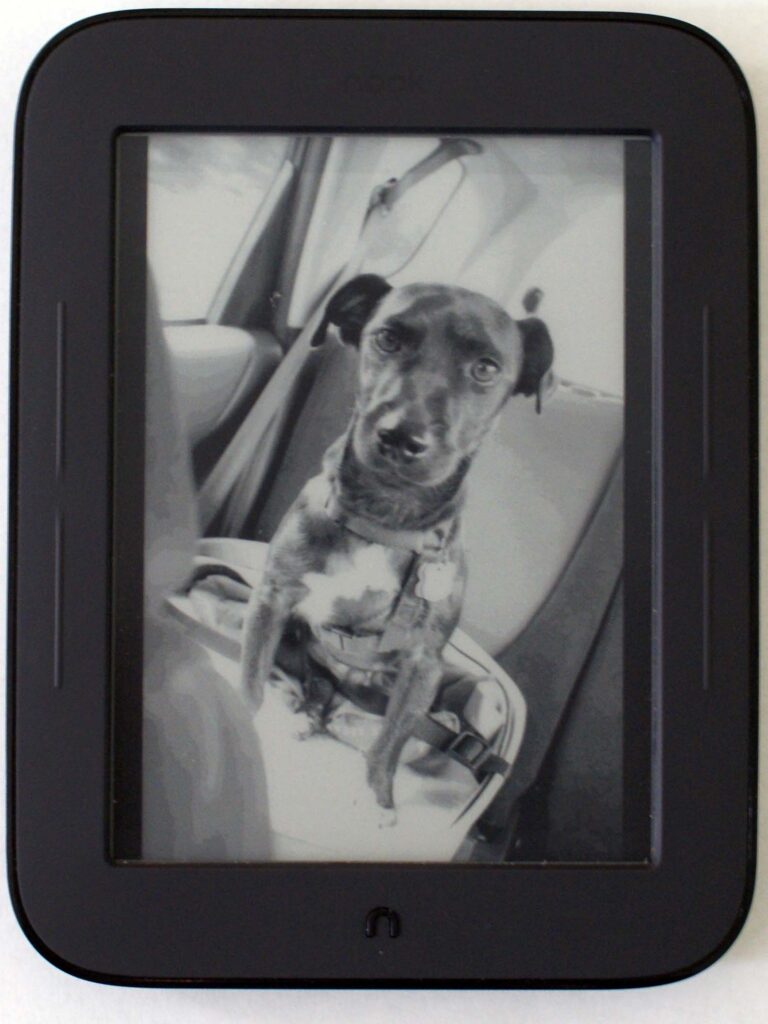
Years ago, I picked up a Simple Touch Nook e-reader, a competitor/alternative to the Amazon kindle, for under $20 refurbished. Barnes & Noble, I believe, have gone through bankruptcies and changes since then so these older devices have been mostly abandoned in favor of newer options. While I could get it to connect to wifi, the Setup process cannot connect to the Nook servers for some reason (probably because they do not exist any longer). Other than that though, the device works and has a solid e-ink screen and included Adobe technology.
If you happen to find one for nothing and want a way to read some e-books, follow the guide from this webpage to skip registration. You can then easily side load ebooks onto a microSD card loaded into the slot on the side. Just drag files into the Books subfolder. I believe the reader will even view PDFs, albeit in gray scale.
Here are the steps from the website. They worked for me.
Hold down the top right button on the front of the device and slide your finger from left to right across the top of the E Ink screen. (It’s a little hard to see, but it’s the Nook’s default next page button if you were using your right hand. For past Kindle owners, it’s the one in the same spot as the previous page button on a Kindle.)
Turn on the device, but do NOT start setting it up. B&N devilishly waits until the last step to ask you to create an account, at which point the following instructions don’t work. If you do start setting it up, just turn it off and back on again.
A ‘Factory’ button should appear in the top left corner of the screen. Press it.
Once in the Factory menu, hold down the top right button on the front of the device and tap the bottom right corner of the screen.
You should now see a ‘Skip Oobe’ button. Tap that and the Nook should finally load the home screen.
My son now has his own simple e-reader, and I’ve gotten more use out of old tech. Many classic novels are online free, like Call of the Wild and Huck Finn. And we didn’t feed the Amazon beast. Good stuff.
My Mac mini G4 is a cherished machine. I love the form factor. I love G4 processors. It is superbly limited which makes it not age so well, but nonetheless, it is beloved. After running OS9 on it, despite some sound limitations, I decided to push it in a new direction as a Linux box. Enter MacBuntu-Remix, available over on the MacRumors Forums.
BTW – a review is forthcoming.
But first, the Mac mini G4 is notorious for having an awful CD/DVD drive. This unit’s drive long ago bit the dust. I was using an external FireWire drive, but it too was whining every time I opened it up. It finally would not read a recently burnt disc image.
I fiddled with Target Disk Mode, which is still amazing technology, and gave up only to discover the above technique. Holding down the option key on boot will not generally allow us to boot off of a USB Drive, but using the Open Firmware gimmick above does. A great tip to turn some of those old USB drives into serviceable backup booting options for these old Macs.
Many of us in the States (and potentially elsewhere) take some much needed vacation time, visiting friends, family, and far off places during this holiday season. You may want to access your G5 to get at those critical documents, outdated games, or whatever it is you might want to do. In that case, here are some ways to do it.
Obviously, with Leopard’s strong UNIX underpinnings, you can easily access your G5 via SSH, if you so choose. I won’t go into that here, because unless you are running a server, it’s probably not the most effective way to access your computer. But, it’s an awesome possibility and probably the most secure option when you set up an ssh key for your remote device.
Another easy option is to keep using Dropbox, which yes, still works for our Leopard Macs (for the time being). You can use the online Dropbox interface or a favorite iOS app to get at any crucial files and save you security headaches. Easy stuff.
But let’s say you prefer to access a specific email account that is setup on your G5 or want to get some work done without bringing a bunch of files. In that case, VNC is your solution.
VNC allows you to share your desktop remotely and interact with your computer like you were sitting in front of it. You’ll need a VNC server, which Leopard has already built in, and you’ll need a VNC viewer. Leopard has one built in as well, but you might have better results with something like Chicken of the VNC. In my experience, it’s just a bit faster.
To get your VNC server going, just open up System Preferences, go to your Sharing settings, and click the check box next to “Screen Sharing”. You will want to fiddle with the settings, of course. It’s absolutely crucial that you create a password. Choosing the first option, allowing anyone access, saves you a little hassle from logging in to your user account first, but it’s probably safer to leave it off. Back in the main settings pane, if you have multiple accounts, I’d recommend choosing just one or two users who have access in this way.
You may need to do some tests from another computer to make sure it works, but the most important step is to insure your router forwards VNC traffic directly to your G5. Every router is a bit different, so consult its documentation on how to setup port forwarding. The default port is 5900, so the easiest way is to funnel any traffic on that port in your router to the same port on your Mac. Be sure to give your Mac a permanent internal IP address as well, so you don’t have to change the port forwarding rules every time your router resets.
For a little more security through obscurity, you could use a port of your own choosing and have the router internally connect to your G5 on 5900. The purpose is to turn away any bots or hackers who may be trying to access any computers via that commonly used port. Running a separate VNC server gives you more options in this regard to fine tune your settings and security. I’d recommend taking a look at Vine VNC, which works great on PowerPC machines.
Testing internally (from within your LAN) is a piece of cake. Bonjour is awesome and will advertise your Mac’s screen sharing server right away. Testing from outside your network is a little different. You will need your external IP address and get to a place (like work/coffee shop/library/etc). Write in that external IP with the default port and password, and you should be in. If it doesn’t work, work you way from the top of this article to see what went wrong. Most of the time it is router related.
What are the risks of opening your Mac to the outside world? If someone did get access, they can do anything they want. Delete files. Send email on your behalf. Surf to salty websites. Or ruin your Fallout character. So, use screen sharing only when you must.
Last and not least, a bonus tip: Power Mac G5s can consume a lot of electricity, so it’s pointless in my opinion to leave them running 24/7 especially if you aren’t using them. As an added layer of security, I setup my G5 to boot up at a specific time and shut down fairly quickly automatically. For example, I might have the G5 start up at 4 PM EST and shut off at 4:30 PM EST everyday while I am away. Pick a time that works for you and that only you know. That way, if you need access, you can wait for that time, log into your Mac remotely, shut off its schedule (or modify it), and work on what you need to work on. You save electricity, and you provide a smaller window for someone who wants to get your archive of precious GIFs.
Did I miss anything? What are some of your tips and tricks?